HHVM, Laravel & Heroku – The Killer Combination
· 762 wordsLaying the foundations to a new project recently, some new web technologies were considered for use, notable among these was the recent announcement of Facebook’s HHVM engine and HACK language, which is now gaining support and stability. The project itself was going to be run on Heroku, a cloud PaaS (Platform as a Service) which allows websites to scale dynamically as they grow. Aside from what the software was going to run on, the software itself was going to be written in PHP (or HACK maybe?) and built upon the Laravel Framework — choosen because of it’s online support, clean code base and large number of features (e.g. a full ORM, MVC structure, db migrations, etc.).
Edit 21/06/14: Heroku have produced their own buildpack for HHVM which might be preferential for use.
All of these technologies are popular and well used, but the combination of all three is relatively new and that’s the purpose behind this article. By the end of this we will hopefully have a fully functioning Laravel install running on an Heroku instance being run by the HHVM engine.
Prerequisites Needed: Heroku Toolbelt (and an account with ssh access), Git and Laravel Installer.
Step 1) Create a Heroku Instance#
We’ll be using HHVM’s very own Heroku buildpack to run our code and this can be specified when creating a Heroku app. For this example, the app has also been created on the cedar stack within the EU (in the hope of better response times).
heroku create --region eu --buildpack https://github.com/hhvm/heroku-buildpack-hhvm
Output:
Creating calm-dawn-8508... done, region is eu
BUILDPACK_URL=https://github.com/hhvm/heroku-buildpack-hhvm
http://gentle-lake-6963.herokuapp.com/ | git@heroku.com:gentle-lake-6963.git
Once the command is run some useful information is returned, such as the randomly generated Heroku name (in this example it is gentle-lake-6963 and you have to love their naming!) as well as the full git url (git@heroku.com:gentle-lake-6963.git).
Step 2) Get Laravel Running Locally#
This command will create a new folder called heroku-example and populate it with a fresh install of the Laravel Framework.
laravel new heroku-example
You can then navigate into this folder and quickly create your first git commit, best to do this early on before things get changed.
cd heroku-example
git remote add heroku git@heroku.com:gentle-lake-6963.git
git init
git add .
git commit -m "First Commit ;)"
At this point, it’s also a good idea to run composer update (which clear a bug for me).
composer update
The final part of the Laravel install is to correct the storage folder’s permissions (so that Laravel can write to it when it needs to).
chmod -R o+w app/storage
At this point, if you’re using a normal LAMP setup then laravel should work fine locally.
Step 3) Setting up HHVM#
Although my localhost is using PHP’s Zend engine, not HHVM, we’ll need to create a HHVM config file so that when we upload it to Heroku it knows where things are and how to interpret them. To do this, we need to create a file in our root directory called config.hdf which contains the details below.
Server {
    SourceRoot = /app/public/
    DefaultDocument = index.php
}

Log {
  Level = Error
  UseLogFile = true
  File = /var/log/hhvm/error.log
  Access {
    * {
      File = /var/log/hhvm/access.log
      Format = %h %l %u %t "%r" %>s %b
    }
  }
}

VirtualHost {
  * {
    Pattern = .*
    RewriteRules {
       * {
         pattern =.?
             # App bootstrap
         to = index.php
         # Append the original query string
         qsa = true
       }
    }
  }
}

StaticFile {
  FilesMatch {
    * {
      pattern = .*.(dll|exe)
      headers {
        * = Content-Disposition: attachment
      }
    }
  }
  Extensions {
    css = text/css
    gif = image/gif
    html = text/html
    jpe = image/jpeg
    jpeg = image/jpeg
    jpg = image/jpeg
    png = image/png
    tif = image/tiff
    tiff = image/tiff
    txt = text/plain
  }
}
You will then need to add these changes to a new git commit and then we’re ready to push our changes live.
git add config.hdf
git commit -m "Add HHVM Config File"

git push heroku master
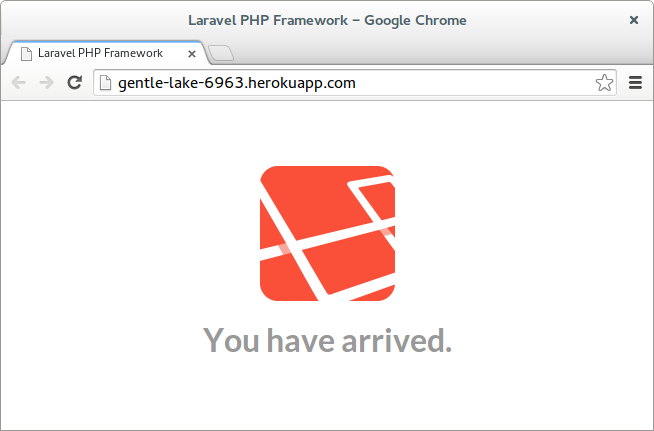
Pushing to Heroku, especially in this way can take a little while and anything up to minute is normal. But once it’s done, you can test things out by running the open command to open it in your web browser.
heroku open
Done! That’s it#

There is not too much to it when you look at it, the config.hdf file can sometimes get a little fiddly at times but most of the process is handled by some clever little commands running through the Heroku Toolbelt and Laravel Installer.
Have you had an experience using any of these technologies, let us know in the comments
