Getting Started with Laravel: Part 1 – The Install
· 352 words
This is the first article in a section of posts outlining how to get started using the PHP framework, Laravel.
Why?#
There are many different PHP frameworks out there, some popular names include CodeIgniter and CakePHP, all having their merits. One of the most important aspects of choosing a framework comes down to how you feel when using it – does it make sense and feel good to use.
Personally, Laravel fits in well with the way I work and it has a notably clean syntax. It achieves this (somewhat controversially) through its use of static methods, so instead of having to instantiate a class, methods are called directly from it.
Another advantage of the Laravel framework comes from its extensive documentation – which is important if you’re learning a new framework. There’s the primary documentation on Laravel’s site but there have also been some great books published on getting started with Laravel and plenty of StackOverflow answers available.
Prerequisites#
We’ll be running this tutorial on a Ubuntu 14.04 box.
Before getting started, we’ll need a few things installed: Composer, Git. You can skip this if you’ve already got them installed.
Composer
sudo apt-get install php5-cli
curl -sS https://getcomposer.org/installer | php
sudo mv composer.phar /usr/local/bin/composer
Git (needed by composer to pull files)
sudo apt-get install git-core
MCrypt
sudo apt-get install mcrypt php5-mcrypt
Finally, add extension=mcrypt.so to your /etc/php5/cli/php.ini to enable mcrypt globally across your system.
Install Laravel#
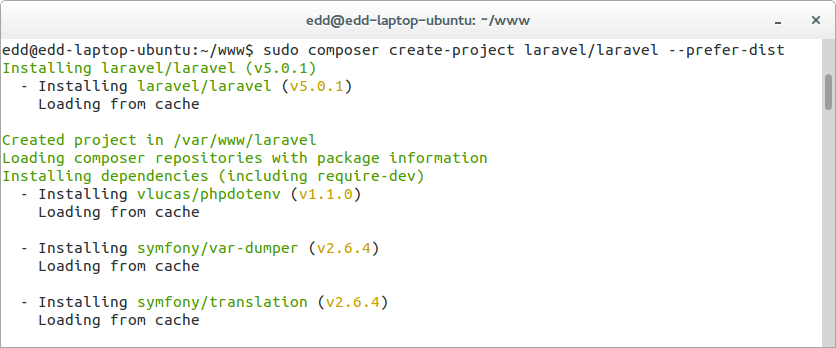
To install Laravel we’re going to use Composer, it is possible just to download the Laravel source code, but the Composer install does many other things like setting up application keys in the config files – so it’s worth doing it this way.
So to begin with we’ll open up the terminal and navigate to where ever we keep our web files and run composer.
sudo composer create-project laravel/laravel --prefer-dist
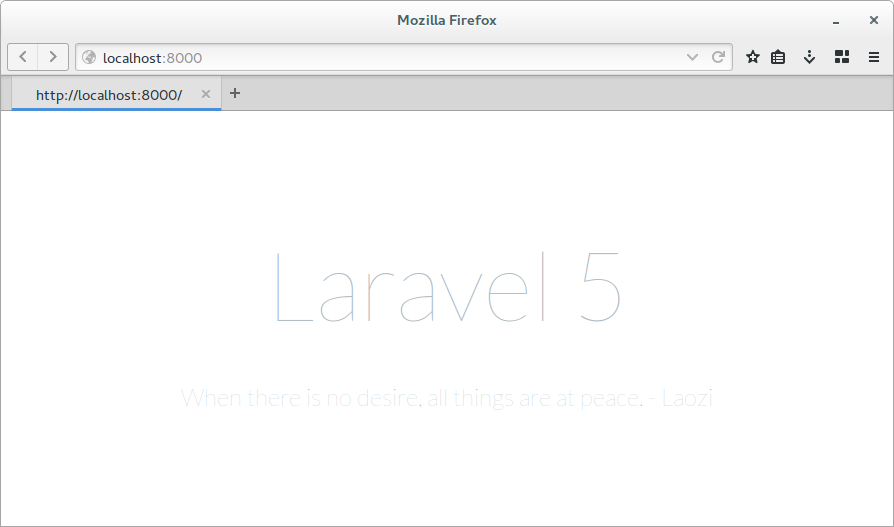
cd laravel/
php artisan serve
You should now see a green message saying that “Laravel development server started…” and you can access Laravel by going to http://localhost:8000/.
There we go, that was part 1, the installing of Laravel. Stay tuned for part 2, the setup.

About the Author: Edd Turtle
Edd is a PHP and Go developer, specialising in building scalable web applications. He enjoys blogging about his experiences, mostly about creating and coding new things he's working on and is a big beliver in open-source and Linux.